Food Photography – Experiment with angles and exposure
10/05/2022 2022-05-10 16:37Food Photography – Experiment with angles and exposure
Food can taste like heaven on a platter, just the thought of a dish might make you salivate and give you the painful late-night cravings. But, how do make another person know, recognise and understand the same depth of your taste buds without having to types a 1000-word essay on the pepper count in your food? Pictures. Food photography is the recent addition that’s made it big in the commercial photography department, before Swiggy became the newest unicorn to prance around town.
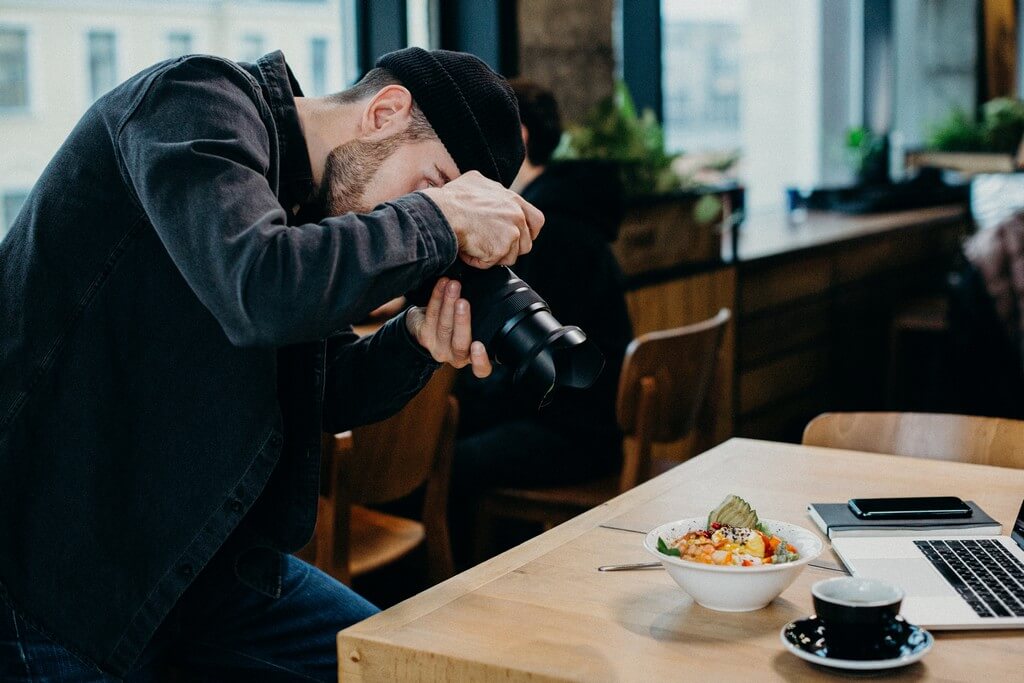 Food photography is not as easy as it sounds, its far from a picture you click when the food arrives on your table before your friends crash in your pretty picture and ruin it. The art of food photography is all maths and science. Fret not! I have got you food bloggers covered. Here are the basics you need to look for before clicking a picture that’s food blogger worthy.
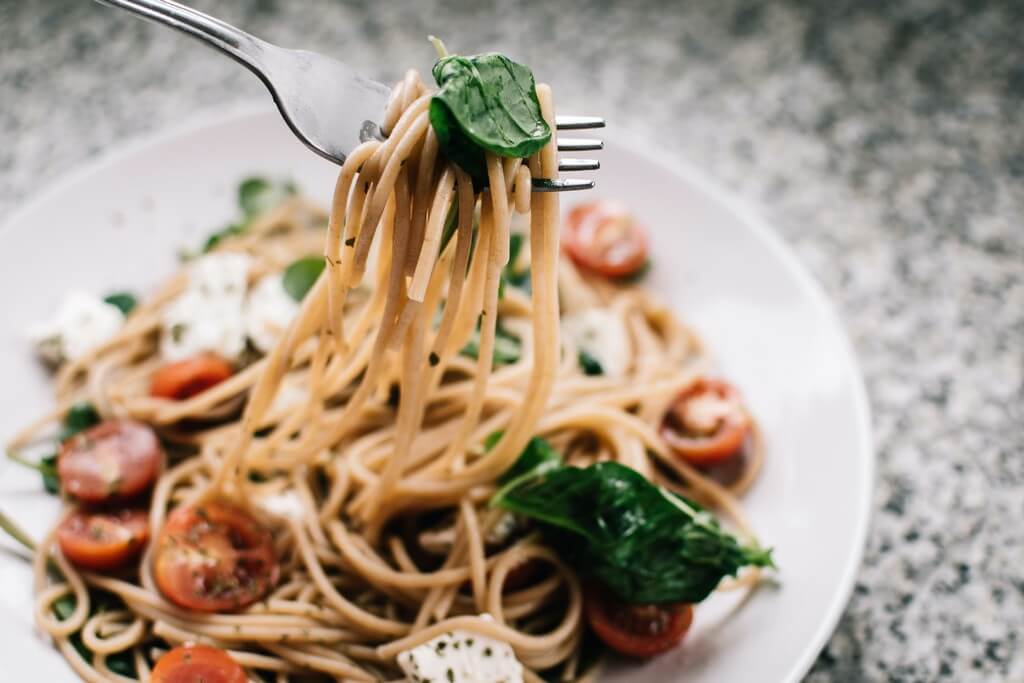
Lighting & Angles – The Basics
It’s all about the light! My best tip for beginners is to become aware of the intensity of the light and how it hits the food, and learn to adjust accordingly. Here are some tips for getting started.
- Natural light works best – Do not use overhead lights or lamps or your built-in flash. Ever!
- Find the best light source – Don’t feel confined to taking photos in your kitchen, if you are a blogger or YouTuber. Perhaps the light is best by the living room window in the morning. Try different places when the food is still fresh.
- Multiple angles – Some plates of food look better from above (like, pizza), or from the side (burgers), or at a 45-degree angle (drinks). Try moving around the plate and taking photos at various angles so you can pick your favourite later.
- Zoom the right amount – Focus on what is most important, but don’t zoom in so close that viewers can’t tell what the food is. If a stray spoon or napkin doesn’t add to the photo, it detracts from the photo. Minimal is always gives a very clean and perfect look.
Now, moving onto some tips on angles for the Professionals who have invested in a DSLR, lenses and camera equipment.
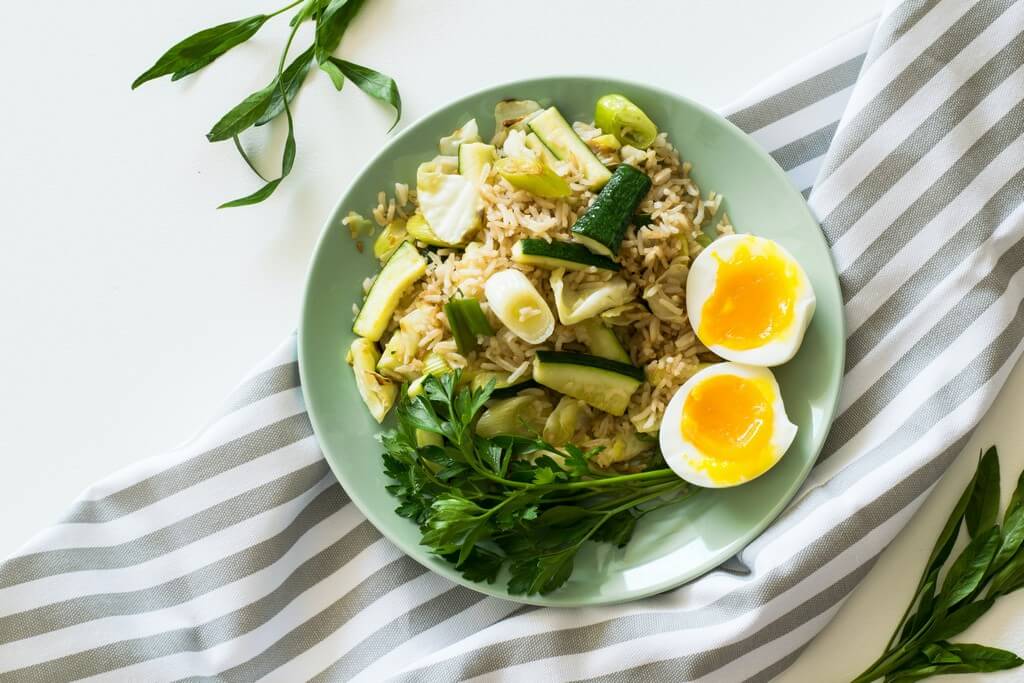 The popular angle – The flat lay is probably the most flexible angle in food photography and definitely one of the most popular! Unless your food is “closed” when looking at it from above, like a sandwich, or a burger with the bun on, nearly everything can work with a top-down angle. You only need to scroll through Swiggy or Zomato for 5 seconds to realise that food photography is all about the flat lays!
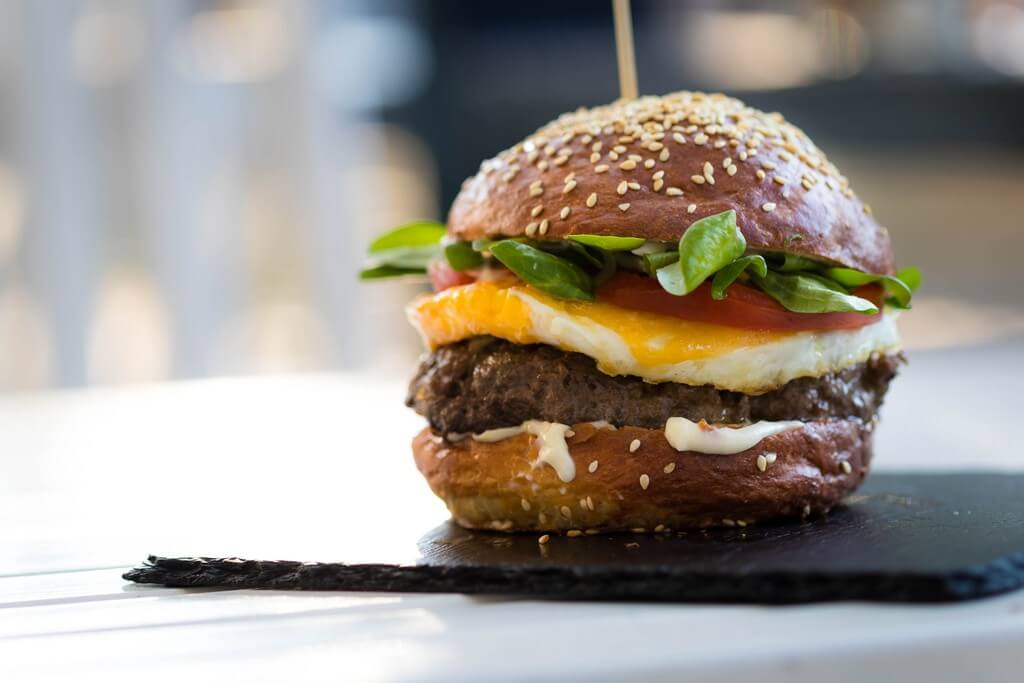 The Burger angle – The straight-on angle is good for subjects like burgers, sandwiches, pancake stacks, etc, or any food where there’s more detail on the side/inside than the top. It’s an angle that also allows you to utilise the background to add additional props and objects which can be useful to build out your food story.
 The fluid angle – 25-75°. It’s basically everything in between the straight-on and the flat lay which we’ll come to in just a minute. It’s hard to know at exactly what point your photo will look best in this range, as it depends on how much detail there is on top of your subject. Typically, a good starting point is to shoot flatter subjects somewhere between 90° and 45° and taller subjects from straight on – 45°. The 75° angle allows you to mostly focus on the decoration on top, but still see the shape of the glass, rather than just the top of the glass. This angle is really effective for drinks where you still want some depth, but you don’t have any layers or particular interest to highlight on the side of the glass.
Combo shots – Composition is a broad term for the arrangement of stuff in your shot. A well-composed picture will catch the viewer’s attention and tell a straightforward story. A good way of achieving it is through the rule of thirds.
That is, divide your frame into a nine-part grid. Then position your main subject (your bowl of soup or cookie) along those lines or at their intersections. Using colours, props, lines, textures and just like with any form of art, each of your elements must have a role to play.
Expert Tip: Keep your horizons straight. Those diagonal shots and Dutch angles might work well in selfies, but if your food looks like it’s about to slide off the photo, your viewer will probably want to tilt their head to look at the photo properly, don’t make them do that!
Learn professional photography with JD Institute of Fashion Technology for more of the insider tips and tricks to become a certified professional for a full-time career in photography.


