Hair Tools: How to keep them clean through guided steps and Why?
15/04/2021 2021-04-15 10:12Hair Tools: How to keep them clean through guided steps and Why?

Hair tools when kept clean on a daily basis can work wonders on your hair. Let us be honest for a second, when was the last time you cleaned your hair brush? What about your blow dryer, straightening iron or curling iron? Yes, they too require to be cleaned, as they have more chances of building up dust and causing hair dryness and split-ends. Especially when a straightening iron is not cleaned and taken care of properly, it will burn your hair causing extreme hair damage.
Step-by-Step process of cleaning your hair tools:
1. CLEANING BRUSHES AND COMBS:

Hair brushes tend to contain germs, oils from your scalp, dust, hairspray, other product residue, and other particles in the air when not cleaned regularly. Here are steps to clean it:
STEP I: Take a skewer or any long thin tool (rat tail comb or pair of scissors) and run it through the hair brush while pulling all the hair out.
STEP II: Once all the hair is out, run the brush or comb under water and splash some shampoo or liquid soap. Either let the tool soak on a soap solution or you can use an old toothbrush to scrub the dirt out, after which you can rinse out any remaining residue.
STEP III: You can leave it to dry overnight or use a blow dryer for faster results.
Now your brush or comb is all clean and ready to be used again!
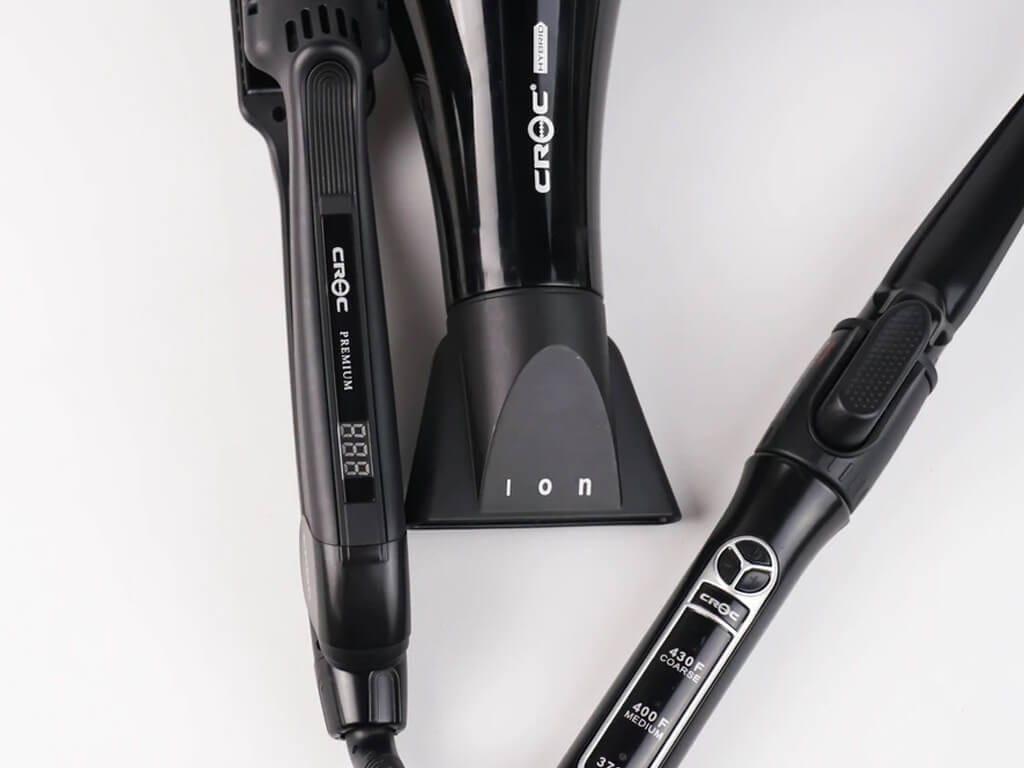
2. CLEANING CURLERS AND FLAT IRONS:

When using curling or flat iron, the products used remain on the tool causing a sticky texture which burns your hair or causes split-end. How do you clean it?
STEP I: Make sure your tool is unplugged before cleaning it. Take a moist cloth and wipe the tool until the dirt is removed. If water isn’t working, alcohol can also be used (or a professional iron cleaner). The tool needs to be dried completely before using it.
STEP II: The product buildup comes off easier when the tool is warm, and not hot. To achieve this, plug the tool in for a few seconds before cleaning but remember to switch it off.
STEP III: Remember to never submerge your iron into water – this is both dangerous and will damage your tool.
3. CLEANING YOUR BLOW DRYER:
 When you look at the back of your blow dryer, you can see lint and dirt. Most likely covering the entire filter. All this dirt and lint can affect the work of the tool. Here’s how you get it to work properly:
STEP I: Remove the back of the cover, by twisting it like the cap of a bottle. If not, consult the instruction manual.
STEP II: Once you remove the filter, you can remove the dirt and lint using small tools such as Q-tips, toothbrush, toothpick, tweezer etc). Then, rinse with water and let it dry completely.
STEP III: White the filter is drying, you can rub down the nozzle and body with a damp cloth to clean any built-up products .
Now, your blow dryer is ready to be used and will give you best results.
4. CLEANING HAIR ACCESSORIES:
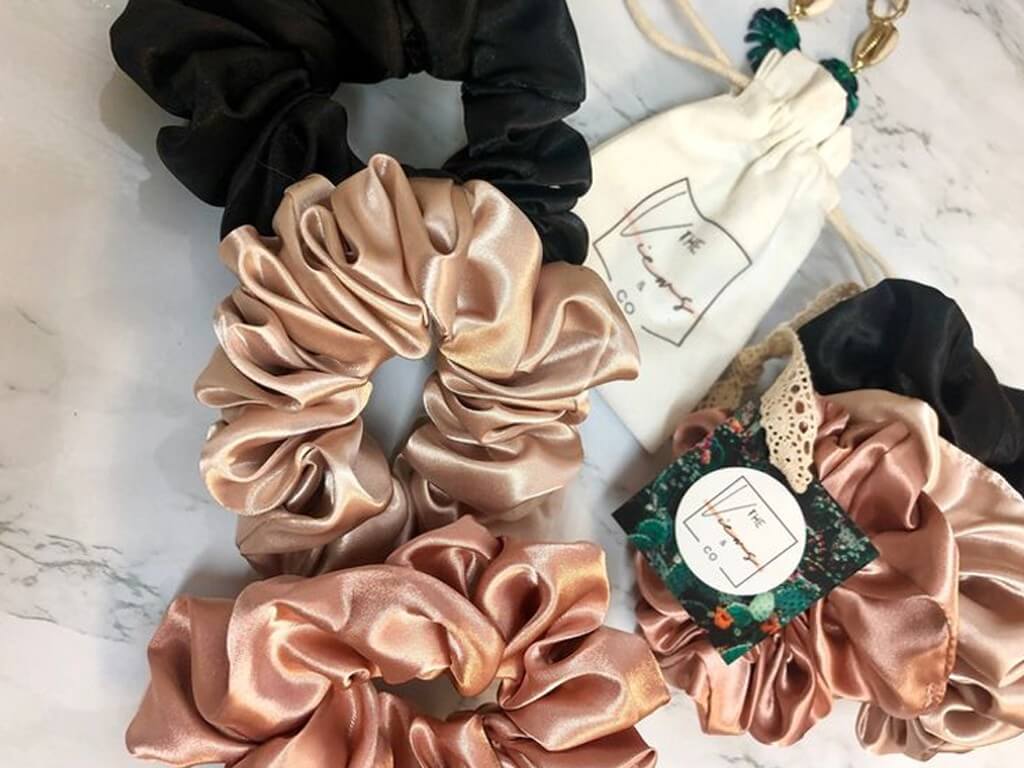
Hair bands, hair ties, scrunchies and hair clips also have built-up products, as well as potential sweat and pollution from outside.
STEP I: You can clean them by soaking and gently rubbing them in soap solution. Once the accessories are completely dry, they are good to be used again.
Hair tools when cleaned properly and kept neatly, will result in better and healthier hair. Also, when your hair tools are kept clean, you can also experiment with different hairstyles. To help you out with different hairstyles and their requirements, check our course on hairstyles.


